
How to Deep Clean a Bedroom?

Nothing matches the feeling of having a neat and orderly bedroom and being able to drift into fresh covers, free from the responsibilities of career and family. However, in order to accomplish that serene zone, you first must organize the bedroom. This is where we can help. Allow these thorough cleaning bedroom tricks to serve as your guide to transforming the bedroom into a pleasant and comfortable space. By the end of the day, you’ll love snuggling into fresh sheets in a clean and tidy room. You don’t want the bedroom to rapidly become temporary storage that nobody is allowed to access. Discover how to do simple housekeeping in the bedroom which will allow you to move more comfortably throughout the space.
Free the Space from Clutter
Anything you observe which can be set aside right away must be stashed right away. Collect all scattered papers, put everything vital in a safe location, and toss the rest. Put any rubbish in a trash bag to take it outside the room. Next, begin transferring all of the little items from your nightstands, drawers, and vanity to a container or laundry hamper, washing them down with a moist rag as you go to eliminate dust. Dispose of existing broken or expired items, such as makeup, skincare, or medicine. Decide which objects you want to retain in your bedroom and store the rest in a container to store in other spaces, auction, or donate.
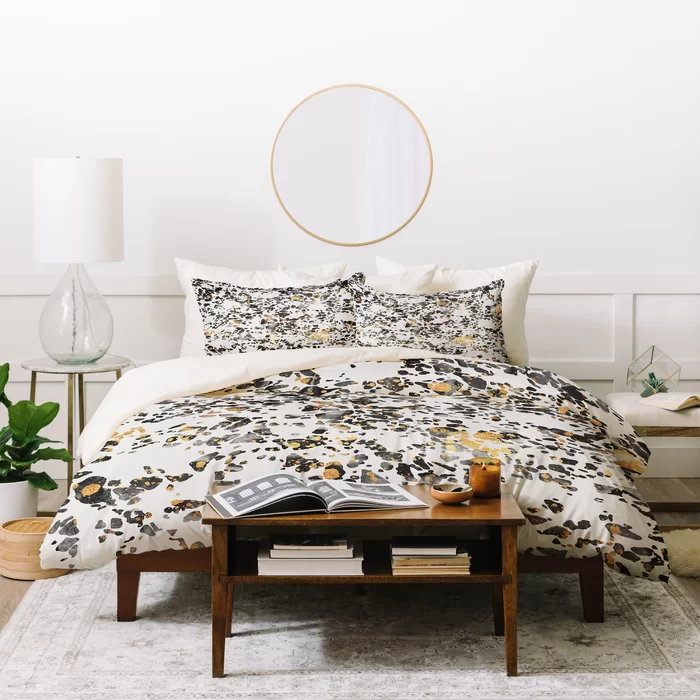
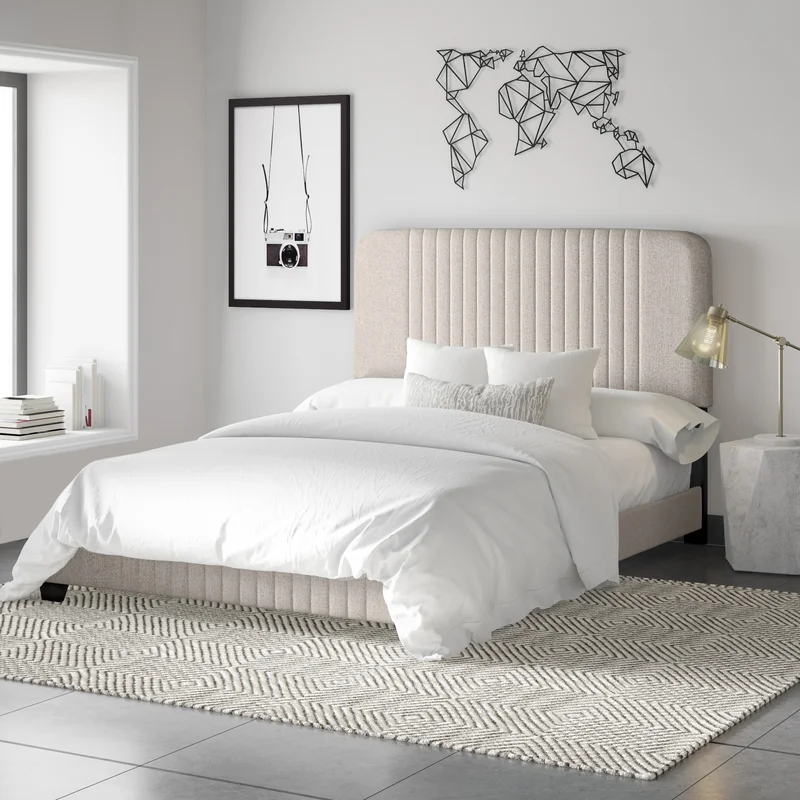
Launder the Sheets and Blankets

Remove the linens, sheets, duvet, and pillow covers from the bed. Begin your washing so that it could run alongside working on the remaining portion of the bedroom cleaning process. Beddings can normally be machine washed with cold water and tumble dried. Just make sure to put the dryer set to low and throw in a wool ball to fluff it up as it starts to turn. End the cycle after 20 minutes to break down all clumps using your hands, then repeat until it’s entirely dried.
Because blankets and comforters need the longest time to dry, these should have been the first pieces laundered. Implement the company’s laundering directions, which should be written on the label. If you do have to bunch up a duvet or blanket to stuff it all into the drying machine, there won’t be enough space for such warm air to flow all around the cloth and, well, dry it. If your sheets are also too large for the dryer, air dry them instead.
Clean the Pillows

After that, launder the pillows. If you haven’t done it before, review the labels on the pillows again for the company’s cleaning recommendations. Pillows stuffed with feathers, quills, wool stuffing, and fiberfill could usually be washed in a clothes washer on the low setting with warm water. Foam pillows cannot be machine washed, although when they have a detachable cover, review the labels to assess if they can be laundered. When you’re not certain exactly what sort of pillow you own but there aren’t any washing directions on the tag, go to the company’s website.
Pillows can always be air-dried and therefore should be ballsed every now and then to ensure they restore their form. If you really want to hurry up things while using the dryer, immediately check labels to keep it safe to do so, because some fillers might dissolve or burn up inside the dryer. Throw very few laundry balls with pillows to prevent the stuffing from clumping, and halt the dryer occasionally during the process to plump them with your hands, removing the stuffing as necessary to maintain the cushion in form.
Wash the Curtains

Maintain your curtains in excellent shape by cleaning them regularly from top to bottom using your vacuum cleaner’s fabric equipment. Whichever material the curtains are composed of, it is suggested that you clean them every several months. Loosen all fasteners and curtain rods before detaching the head tapes. If the material is likely to be smaller significantly, shorten the hemline. To remove the dust, spin the container. Afterward, depending on the type of material, immerse the curtains in ice water and thoroughly clean them.
Put Away All the Clothes
If you have a time’s worth of clothes hanging across a chair or a hamper of clean clothes buried underneath a mound of sheets, it would be best to start working on having them moved away. Every one of these items should be cleared until you can begin any significant tidying. Return everything all to their proper places, or remove everything out of the bedroom and hide them elsewhere.
Wipe the Doors, Windows, and Walls

Wipe the surfaces and crevices using a sterile cotton mop, or use a vacuum attachment to vacuum up webs and debris from the high points. To remove dust from the central air conditioning ducts, clean thoroughly. For ceiling fans, place an old pillow cover over each shaft to catch any debris that falls whilst you cleanse the area with a moist towel. Scrub the window frames and tracks with soft microfiber and lukewarm, mild detergent, and polish the windows with a cleaning solution. If you do have an overhead light fitting with detachable globes, wash and dry these in the tub or sink. Otherwise, dust thoroughly. Wipe switches and door handles with a cleaning solution and a towel.
Vacuum the Carpet
Vacuum the carpet thoroughly, ensuring careful strokes to cover the carpet’s borders and beneath baseboards using the crevices tool to avoid a buildup of dirt, residue, and crumbs. Do not forget to hoover underneath the mattress and bulky furnishings, beneath the wardrobe, or behind the headboard. Many homeowners get the carpets professionally cleaned every two months. If this matches you, it may be profitable to spend on one of our highest quality carpet steam cleaning equipment, because this will be less expensive than paying for a device on a regular basis. Utilize detergent that the machine’s manufacturers prescribe.
Sweep and Mop the Floors

Do not even move furnishings when sweeping or vacuuming. Just give it a quick once-over. If you have time to spare, take the containers and organize the contents in their designated locations. If you have the rest of the day to work on cleaning the room, go the extra mile by moving things around and sweeping and mopping the floors beneath. This will ensure that the space is completely clean and free from dirt and debris that can compromise your health in the long run. Ensure that everything else on the floor has indeed been collected before vacuuming or sweeping and mopping. Replace the furnishings and polish any locations that were overlooked.
Freshen the Mattress

Because a mattress is a substantial investment, it is critical that you preserve it by maintaining hygiene. Provide your mattress a thorough vacuuming occasionally. First, consider asking the care instructions, because not all mattresses are ought to be vacuumed. It will minimize the chances of bed bugs and perhaps termites infiltrating your home. To take the necessary actions, utilize your vacuum cleaner’s upholstery adaptor if you do have it. Do not however forget about the minor details, including around fasteners and bindings. Some producers advocate rotational or flipping the mattress every six months to guarantee even wearing and to keep the mattress’s form, although many mattresses these days really aren’t built to be flipped. Follow the manufacturer’s instructions.
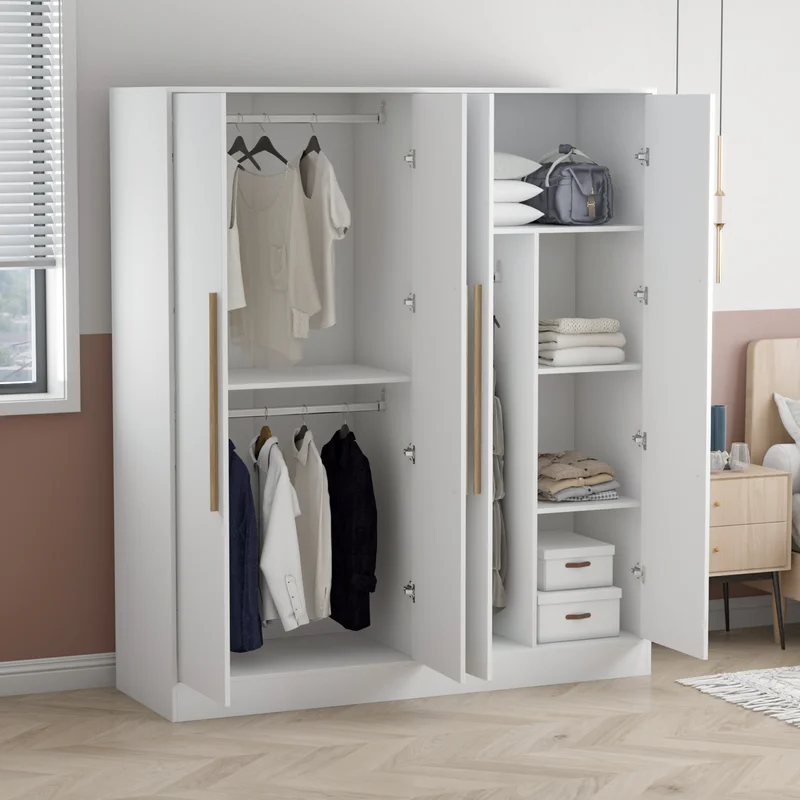
Organize the Closet

This is undoubtedly the most challenging aspect of tidying your room. In order to get your room thoroughly clean, you should first cause a complete mess, not to forget the very sentimental process of searching over your old shoes and clothes. Put whatever is hanging up in the wardrobe on your bed. Inspect the bottom of your wardrobe for any clothes that have fallen off its rack and throw them in the washer.
Eliminate out-of-season garments off your wardrobe, cabinets, or trunk to make more room. Fill vacuum storage pouches with whatever you might not need. Put them in storage containers or purchase an under-the-bed carry bag. Professionals recommend against keeping garments in cartons since they are fragile and would be chewed through by moth caterpillars.
Declutter the Cupboards
Begin by getting rid of everything you never wear or even use. Load a donation box with products that you no longer desire. You can donate goods to a goodwill store if they are in reasonable shape. If otherwise, bring these to the nearest recycling facility. If your old clothes are all in good shape and you no longer wear them, reselling them digitally is a terrific way of making extra funds while reducing clothing waste.
Collect All the Trash
This is not the situation to decide if you’re prepared to throw out outdated copies of newspapers or magazine articles or that pair of sneakers you’ve been meaning to fix for years. We’re barely sifting through containers and cabinets; we’re just tossing out evident rubbish. Save all the big trash clean-up if you have sufficient time.
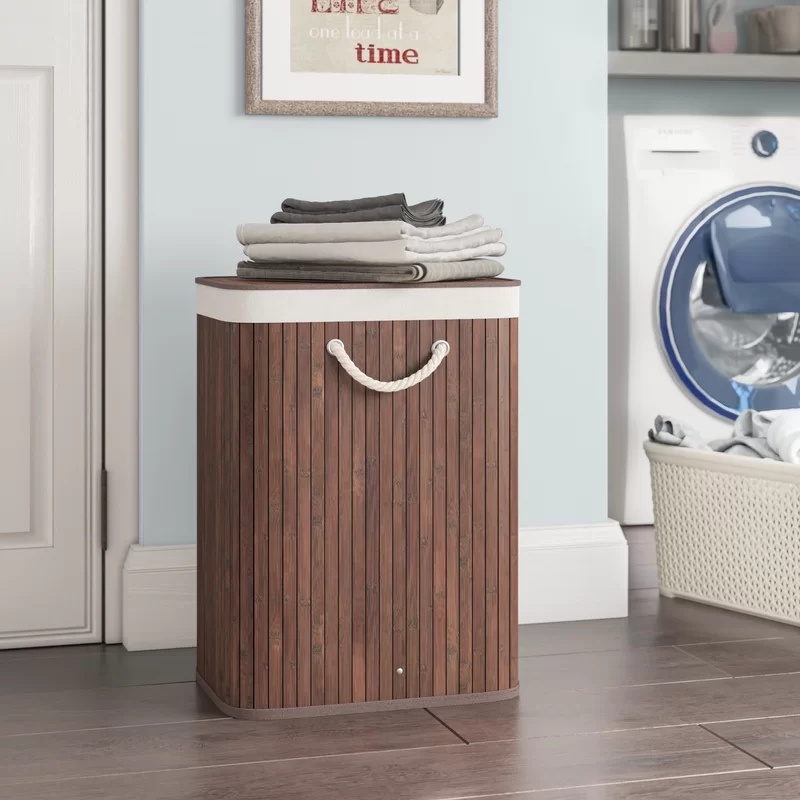
Arrange Laundered Clothes and Fold or Hang Them
If you have a large number of clean clothing that has to be ironed and hung, skip this step and put the cleaned clothes neatly on the bed when you arrange it. You can take the bed and encourage yourself to take some time at night to gather and arrange your clothes.
Clean the Space Under the Bed
Take out everything from beneath the bed, discard waste, dump filthy, mismatched garments in the laundry, arrange all pet items in a crate, and repair or replace damaged storage boxes, much like you did in your wardrobe. Sweep the floor beneath the bed frame with a sweep or vacuum, and reorganize personal belongings.