
Kitchen Backsplash Ideas: A Comprehensive Guide
A backsplash is a decorative panel installed behind a stove or sink to protect the wall from splashes and spills. It can also add color, texture, and pattern to the kitchen. There are many materials to choose from regarding backsplash ideas, including tile, stone, glass, metal, and wallpaper. Tile is one of the most popular choices, as it is durable, easy to clean, and comes in various colors and patterns.

Types of Kitchen Backsplashes
Regarding kitchen backsplashes, there are several types to choose from. Each type has its unique characteristics, advantages, and disadvantages, and some of the most popular types of kitchen backsplashes:
Ceramic Tile Backsplashes
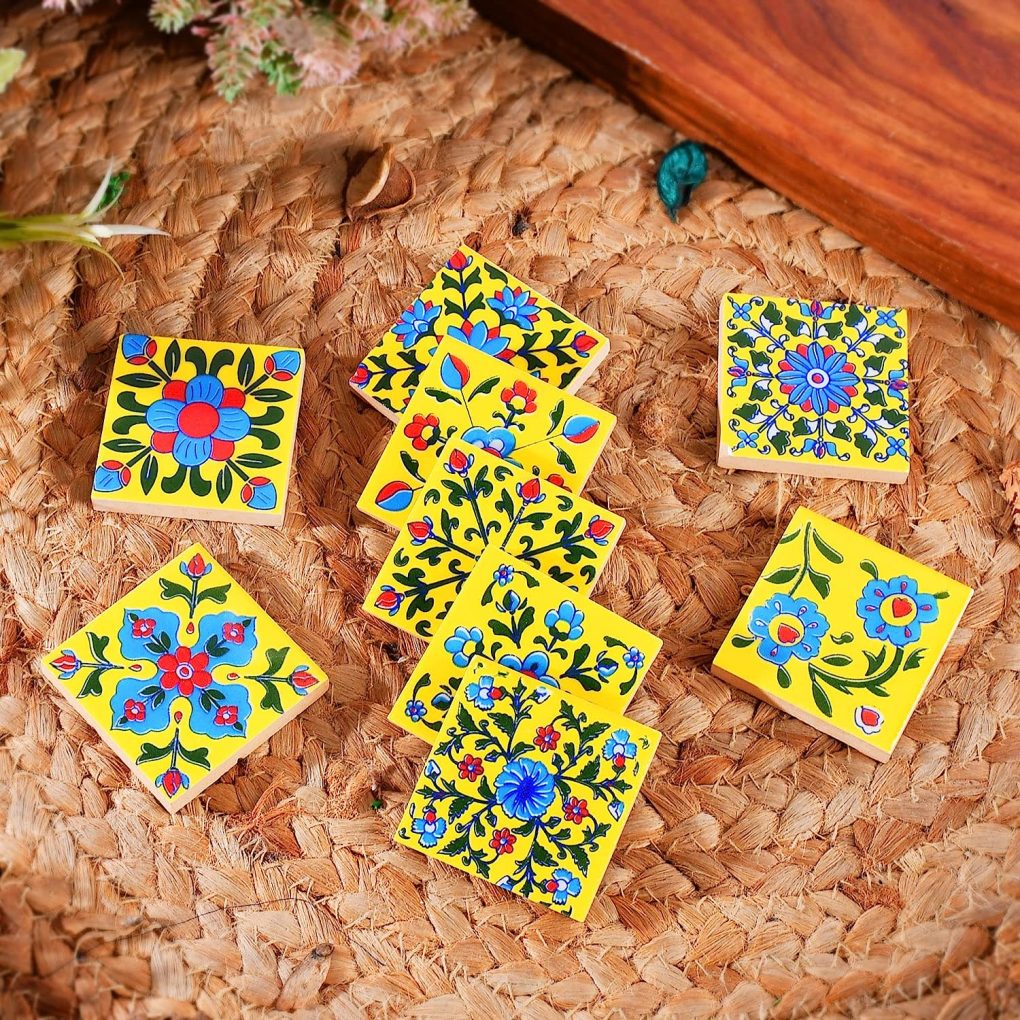
Ceramic tile backsplashes are popular for kitchens due to their durability, easy maintenance, versatility, and affordability. Basic tiling knowledge is all that’s needed for installation. However, ceramic tiles can crack or chip if something heavy is dropped, and the grout between them can stain over time.
Glass Backsplashes
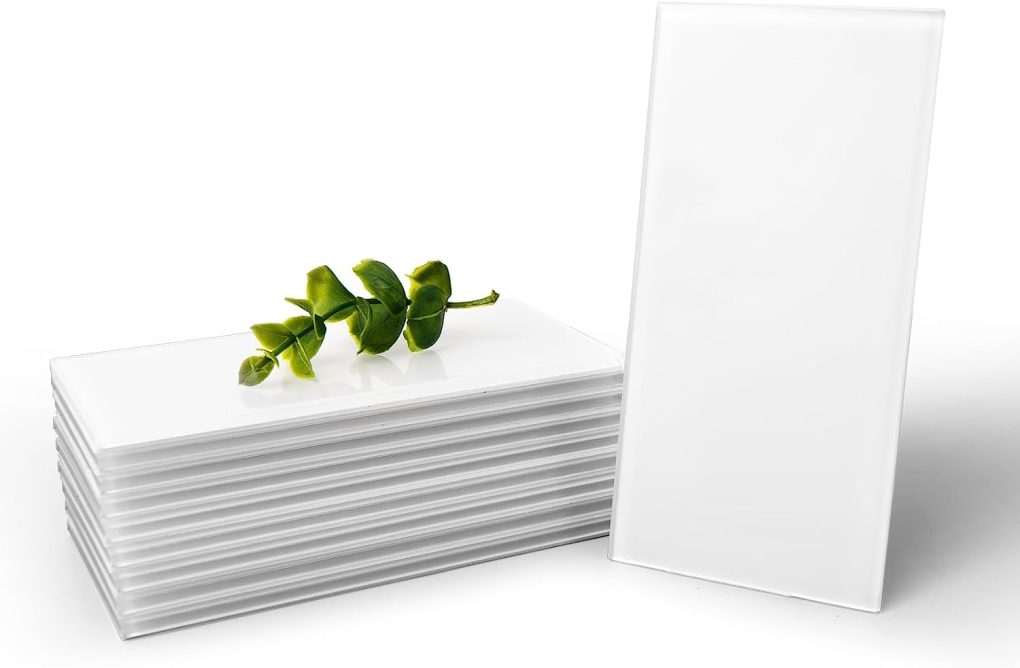
Glass backsplashes are a sleek and modern choice for kitchens. They are easy to clean, heat-resistant, and come in various colors and patterns. Glass backsplashes can make a small kitchen appear larger by reflecting light. Based on experience, they can be expensive and difficult to install, and they may show fingerprints and smudges.
Stone Backsplashes

Stone backsplashes, such as granite, marble, or travertine, are a luxurious and elegant choice for kitchens. They are heat-resistant, durable, and can add value to a home. However, stone backsplashes can be expensive, heavy, difficult to install, and require regular sealing to prevent stains and damage.
Metal Backsplashes
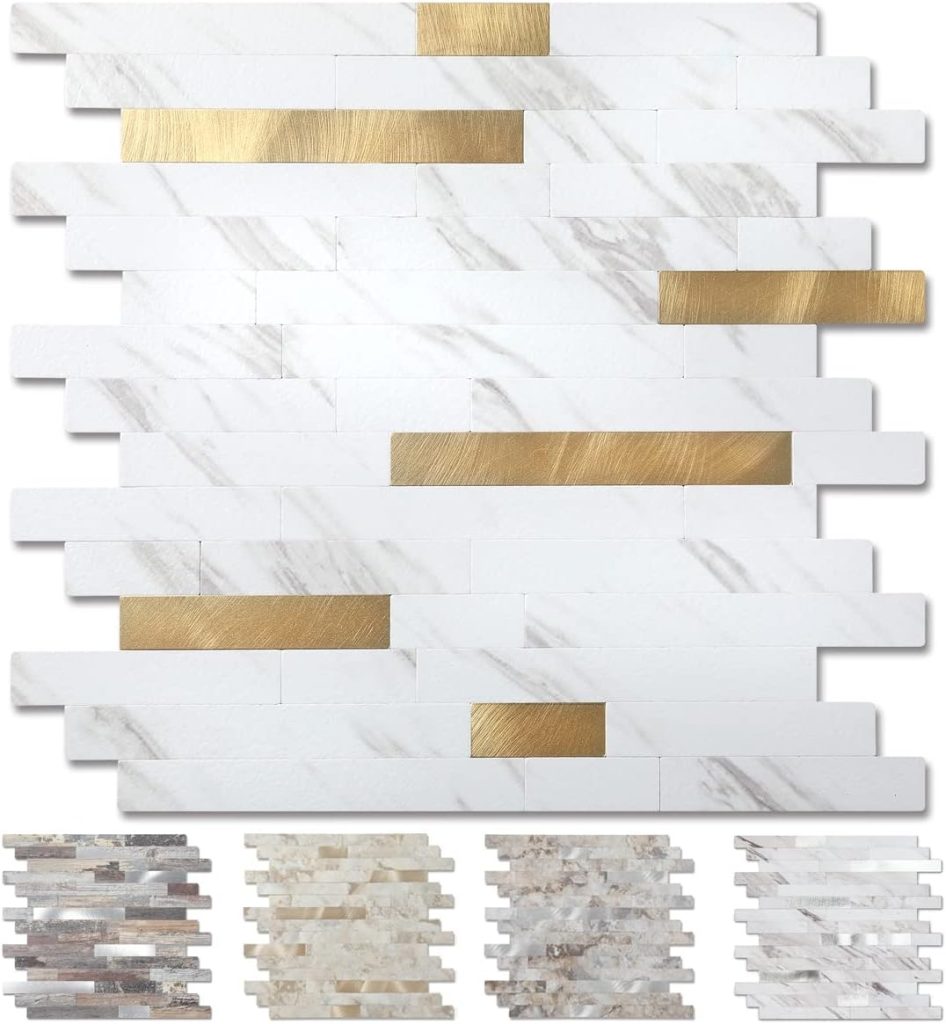
Metal backsplashes, such as stainless steel or copper, are a modern and industrial choice for kitchens. They are easy to clean, heat-resistant, and can add a unique texture and shine to a kitchen. However, metal backsplashes can be expensive and may scratch or dent easily, and they can also show fingerprints and smudges.
Design Considerations
When designing a kitchen backsplash, several factors must be considered to ensure that it complements the kitchen’s overall aesthetic. Here are some key design considerations to keep in mind:
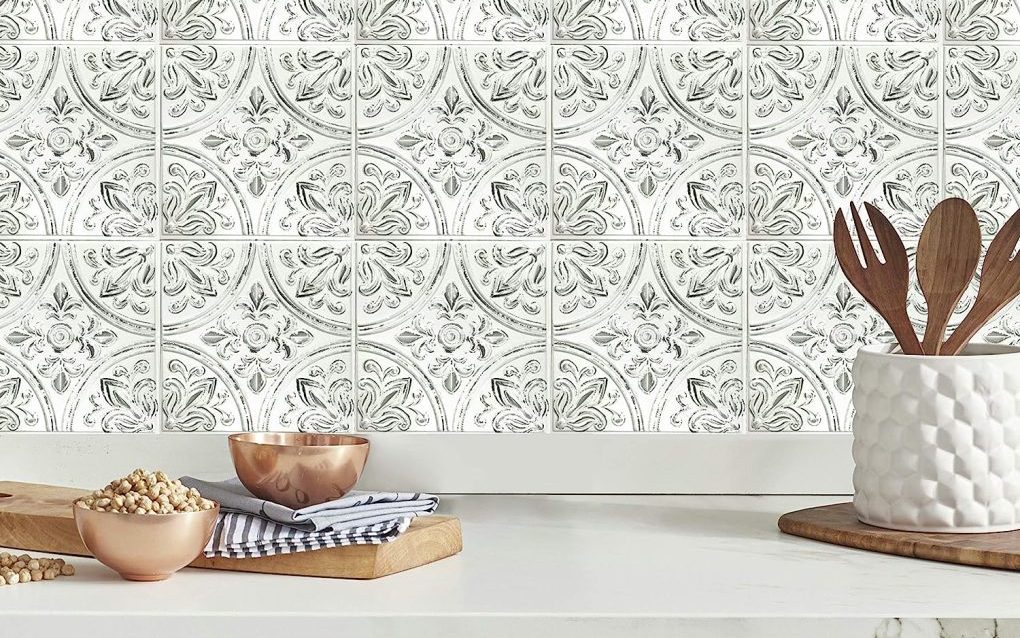
Color and Pattern
Color and pattern are among a kitchen backsplash’s most important design considerations. The backsplash should complement the overall color scheme of the kitchen while also adding visual interest. For example, consider using a bold color or pattern to make a statement or opt for a more subtle design to create a cohesive look.
Texture and Finish
Texture and finish are also important design considerations for a kitchen backsplash. The texture of the backsplash can add depth and dimension to the space, while the finish can impact the overall look and feel. For example, a glossy finish can create a sleek and modern look, while a matte finish can add a more rustic feel.
Size and Shape
Finally, size and shape are important design considerations for a kitchen backsplash. The size of the backsplash should be proportional to the size of the kitchen, while the shape can add visual interest. For example, consider using a unique shape, such as a hexagon or diamond, to create a focal point in the space.
Installation Tips
Installing a backsplash is smart if you want to add style and protection to your kitchen walls. Here are some expert tips to follow to ensure your installation goes smoothly.
Preparation
Before beginning your backsplash installation, it is important to prepare the area properly. Here are some steps to follow:
- Clean the wall thoroughly with a cleaner to remove any grease or other debris.
- Secure a drop cloth on the counter using painter’s tape, covering the entire work area.
- Mark the two sides of the wall using painter’s tape where the backsplash should start and stop.
- Measure the space you plan on tiling.
Application
Once you have organized the area, it is time to apply the tiles. Here are some directions to help you with the application process:
- Follow the manufacturer’s directions while mixing the glue.
- Apply the glue to the wall with a notched trowel.
- Place the tiles onto the adhesive, using tile spacers to ensure even spacing.
- Use a spirit level to ensure straight lines.
- Cut tiles around outlets or other obstacles using a tile cutter or wet saw.
- Let the sealant dry thoroughly before proceeding to the next step.
Grouting
After the adhesive has dried, it is time to grout the tiles. Here are some recommendations to help you with the grouting process:
- To prepare the grout, follow the instructions provided by the manufacturer.
- When applying grout to the tiles, you must utilize a grout float.
- To get rid of extra grout on the tiles, it’s best to use a damp sponge.
- The duration the manufacturer recommends for the grout to dry is crucial and must be followed precisely.
- To polish the tiles, it is recommended to use a clean and dry cloth.
Sealing
After the grout has dried, sealing the tiles to safeguard them against moisture and stains is crucial. To assist you with the sealing process, here are some suggestions:
- Pick a sealer that is appropriate for your tiles and grout.
- Spread the sealer according to the manufacturer’s instructions.
- Allow the sealer to dry completely before using the backsplash.
By following these installation tips, you can ensure that your kitchen backsplash looks great and provides the protection you need for your walls.
DIY Kitchen Backsplash Ideas
Update your kitchen with an affordable and easy solution – change the backsplash. DIY ideas can add a personal touch to make a big impact on design. Here are a few DIY kitchen backsplash ideas to consider.
Painted Backsplashes
Painting your backsplash is an easy way to add color and texture to your kitchen. It’s also a good option for updating or repairing an existing backsplash. Use the same color as your kitchen walls or cabinets for a cohesive look, or choose a contrasting color to make a bold statement.
To paint a backsplash, first, clean the surface and let it dry completely. Then, apply a primer if necessary. Next, use a paintbrush or roller to apply the paint. For added durability, consider using paint with a satin or semi-gloss finish.
Peel and Stick Backsplashes
Peel and stick backsplashes are a popular and affordable DIY option. Wall tiles come in various colors and styles, like subway, mosaic, and faux brick. They’re easy to install and won’t damage the wall when removed.
First, install a peel-and-stick backsplash, clean the wall, and let it dry completely. Then, measure and cut the tiles to fit the area. Next, peel off the backing and stick the tiles to the wall, starting at the bottom and working your way up. Finally, use a level to ensure the tiles are straight.
Stenciled Backsplashes
Stenciled backsplashes are a creative way to add pattern and texture to your kitchen. You can use a variety of stencils, including geometric shapes, floral patterns, or even words. Stenciling is a great way to customize your backsplash and create a one-of-a-kind look.
Clean and dry the backsplash. Secure the stencil with painter’s tape and apply paint with a light touch using a stencil brush or sponge to prevent bleeding.