
How to DIY Paint a Bathtub?
Once you have decided to DIY painting your bathtub, it is now time to prepare for the task by taking safety precautions. We highly recommend using protective wear such as a face mask in order to prevent inhalation of paint fumes from acquiring respiratory allergies. After, it is time to decide on the materials that you will be using. Since they come in kits, check which one suits your budget as well as the painting requirements of your bathtub’s material composition. Lastly, decide on your preferred applicator. Painting a bathtub is similar to painting any surface. You can decide whether to use a roller, spray gun, or a paintbrush. Once you are all ready, follow the steps below for a stress-free DIY bathtub painting project.
Step 1: Clean the Tub
Just like any other painting project, we highly recommend cleaning the surfaces first before proceeding to the other steps. This way, it will be easier for the paint to adhere to the surface knowing that it is spotless from dust and dirt. Cleaning with soap and water is enough to remove stains and fine particles lingering throughout the surface. Using a caulk removal tool or a knife, remove the attached caulk along the edges of the bathtub. Ensure that you are working on a clean canvas free from debris.
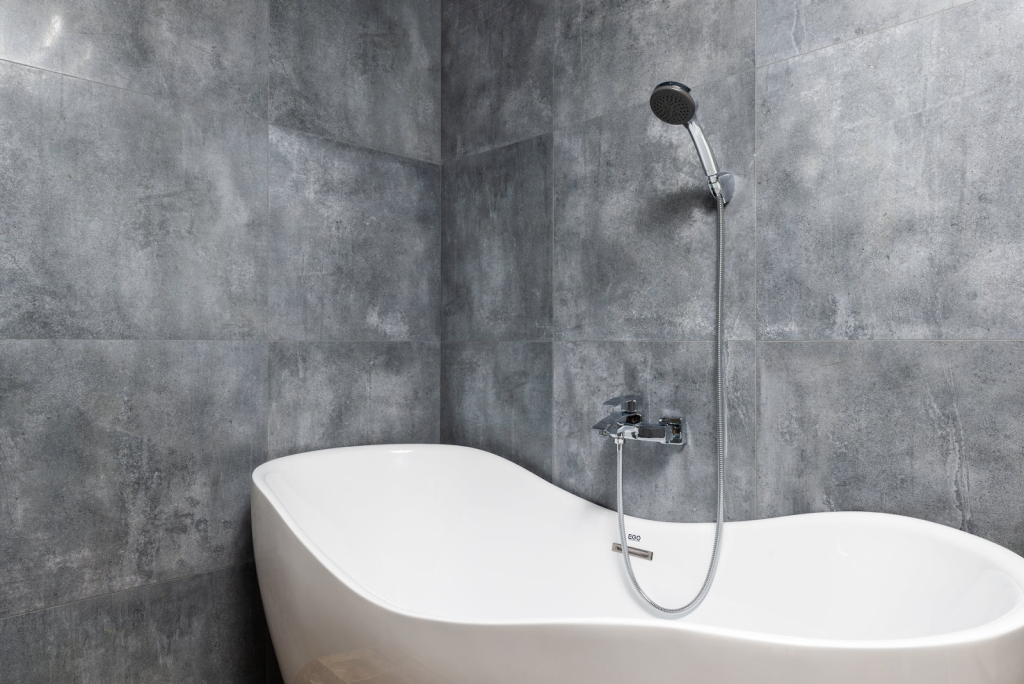
Step 2: Detach the Faucet and Drain
The next step is detaching the faucet and drain from the bathtub. This prevents paint drips and stains all over the metal pieces considering how difficult it can be at times to remove. Loosen it up a little before pulling it all together. Some pieces tend to be attached to the material of the tub more that when the faucet and drain are removed, the material tends to crack or chip away.
Step 3: Ensure Ventilation
Since you are dealing with paint and its unwanted fumes, make sure that there is proper natural and artificial ventilation. Considering that most bathrooms are built with small windows, we highly recommend opening the door and having an electric fan inside to minimize the sensory impact of the fumes. This is one of the most important steps in painting a bathtub because proper ventilation makes the drying and curing process of the material faster.
Step 4: Prepare the Painting Area
The next step is preparing the painting area. We highly suggest taping the areas that are not involved and placing old newspapers on the floor to prevent unwanted drips and stains of paint. Cover the entire painting area to ensure that the flooring tiles remain spotless. The painting area should be free from clutter since most bathroom spaces are limited compared to the other room types inside the house. All textiles should be removed from the bathroom because they are highly absorbent materials that can allow the paint fumes to cling to the material.
Step 5: Etch the Entire Bathtub
The next step is etching the surface of the bathtub using an etching powder or cream. This helps in removing the topcoat or the glossy finish of the bathtub in order for the fresh coat of paint to bond effectively. Ensure that all surfaces are covered to have an even coating of paint. Gently etch the surface enough to blur the glossy coating of the fixture.
Step 6: Rinse the Tub
Once you have evenly etched the bathtub, the next step is removing the dust. Using a brush, scrub the surface under running water. This way, all the dust is no longer within the etched surfaces. Repeat the process until the water is clear and no longer translucent because of the dust. Once the water is clear, stop the running water and wait for the surface of the bathtub to dry. Air-dried or artificially-dried works well as long as you can no longer feel any dampness on the surface. It may take an hour or two to completely dry when you are just relying on natural ventilation. That is why we highly suggest having an electric fan or a blow dryer to fasten the drying process.
Step 7: Prime the Surface
After the bathtub is completely dried, it is time to prime the surface. This will help in enhancing the adhesion of the paint on the surface of the tub. Layer even coating on the surface and ensure that blemishes and imperfections are rather concealed. Priming the bathtub while it is wet will affect how it adheres to the paint. This is why we highly recommend completely drying the etched surface. Use the type of primer that works in the material of the bathtub considering that not all primers are the same. It also applies to the choice of paint you have in mind. The primer should be dried completely before the application of paint.
Step 8: Applying Paint
Paint application is the next step. Choose your tool of preference whether it be roller, spray gun, or paintbrush. For an uneven surface like a bathtub, it is suggested to use a spray guy for an even coating of paint. Make sure that you are not applying too much product. Allow the coat to dry if you are applying for a second and third coat. Leave it for a day or two to completely dry. Once the layers of paint on the bathtub is dry, seal the paint with a topcoat to reinstate the glossy finish. This takes longer than expected to dry.
Step 9: Drying the Bathtub
The last and final step is the drying process. The topcoat takes longer to dry compared to the paint. Leave the bathtub for a day or two before using it. This way, you are sure that the topcoat of the bathtub is adherent to the paint. Attach the faucet and drain and test the bathtub by running cold and warm water onto it.