
Why Do Candles Need to Cure: Understanding the Importance of the Process
Curing is important because it allows the fragrance and wax to fully blend and mature, resulting in a stronger and more consistent scent thrown when the candle is burned. During the curing process, the wax will also settle and may change appearance, becoming smoother and more opaque. Curing time can vary depending on the type of wax, fragrance load, and ambient temperature and humidity.
In addition to improving the scent throw and appearance of the candle, curing can also help prevent problems such as tunneling, where the wax burns down the center of the candle, leaving unmelted wax around the edges.
Definition of Candle Curing
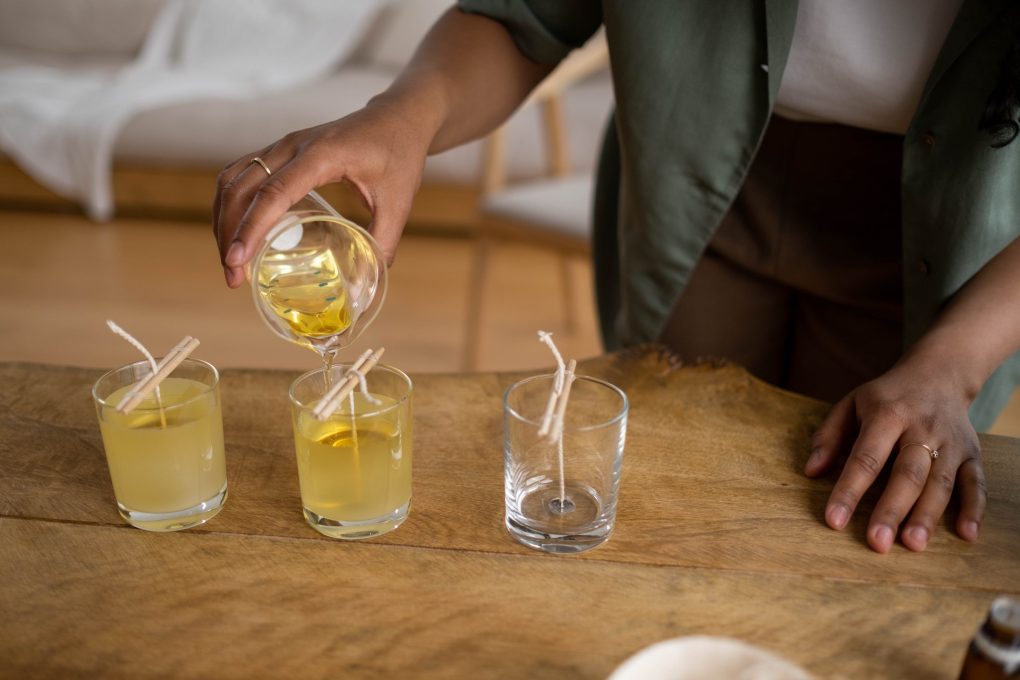
Candle curing allows the candle to sit and harden for a certain amount after pouring it. During this time, the fragrance oils or essential oils used in the candle will distribute evenly throughout the wax. This process is essential for the candle’s optimal performance and fragrance throw.
The time required for curing will depend on the type of wax used, the fragrance load, and the size of the candle. The consensus among candle makers is that a longer cure time is better, allowing the fragrance oils to fully incorporate into the wax and achieve a more consistent scent throughout the candle.
It is important to note that while curing is essential for the candle’s performance, there are other substitutes for using high-quality materials and proper candle-making techniques. However, curing alone cannot compensate for a poorly made candle.
Reasons Why Candles Need to Cure
When making candles, curing is an essential step that should be taken. Curing allows the candle to sit for a specific period after pouring it before burning. This process allows the candle to develop a better scent, color, and burn time. Below are some sub-sections that explain why candles need to cure:
Removal of Moisture
During the candle-making process, wax and fragrance oils are mixed. According to North Ireland Candle Supplies, this mixture can contain moisture, which can cause the candle to sweat. Curing allows the candle to release excess moisture, resulting in a more stable and long-lasting candle.
Development of Scent
Curing allows the fragrance oils in the candle to distribute evenly throughout the wax. This process helps the scent to develop fully, resulting in a stronger and longer-lasting fragrance. With curing, the scent may be strong, and the candle may smell as intended.
Color Stabilization
Based on observation, curing also helps stabilize the candle’s color. When the candle is first poured, the color may appear different than the intended color. Curing allows the color to be fully set, creating a more consistent and vibrant color.
Improved Burn Time
Curing can also improve the burn time of the candle. The longer the candle cures, the harder the wax becomes, resulting in a slower burn time. A slower burn time means the candle will last longer, resulting in more enjoyment for the user.
Preventing Tunneling
Tunneling is a common problem when a candle burns down the center, leaving wax around the edges unburned. Here are some tips to prevent tunneling:
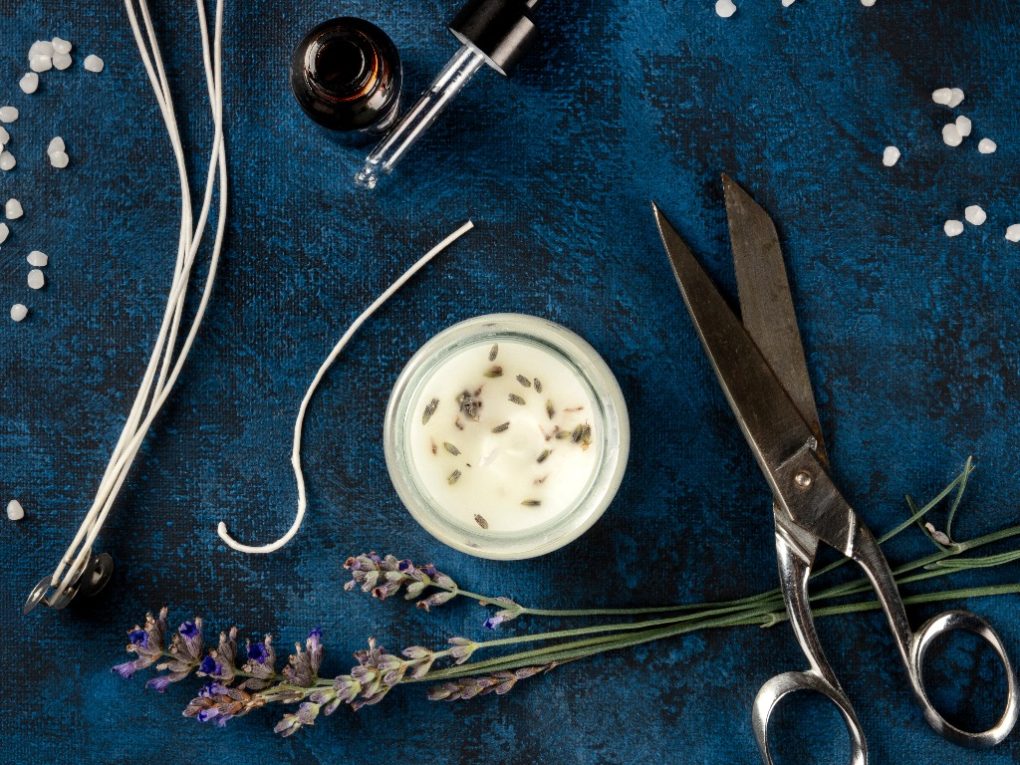
- Choose the right wick: Choosing the right size and type of wick for your candle is crucial to prevent tunneling. A wick that is too small can lead to tunneling, while a wick that is too large can cause excessive heat and flame.
- Burn the candle long enough: Burn your candle for long enough periods so that the entire wax surface melts evenly, creating a pool of melted wax that reaches the edges of the container. The general rule is to burn the candle for at least 1 hour per inch of the container’s diameter to ensure the wax melts evenly.
- Trim the wick: Trim the wick to 1/4 inch before each use to prevent excessive heat and flame, which can lead to tunneling. A longer wick can cause the wax to melt too quickly, leading to tunneling.
- Keep the candle away from drafts: Drafts can cause uneven melting and lead to tunneling. Keep your candle in a draft-free area to ensure even melting.
- Use a candle topper: A candle topper, also known as a wick trimmer, can help prevent tunneling by trimming the wick and ensuring it burns at the optimal length.
Better Appearance
Curing can also help improve the appearance of your candles. During the curing process, the wax will settle and may change appearance, becoming smoother and more opaque. This can result in a more attractive and professional-looking candle.
Additionally, curing can help prevent problems such as cracking or frosting on the candle’s surface. When the wax is allowed to be fully cured, it will be more stable and less likely to develop these types of blemishes.
Time Frame of Curing Your Candles
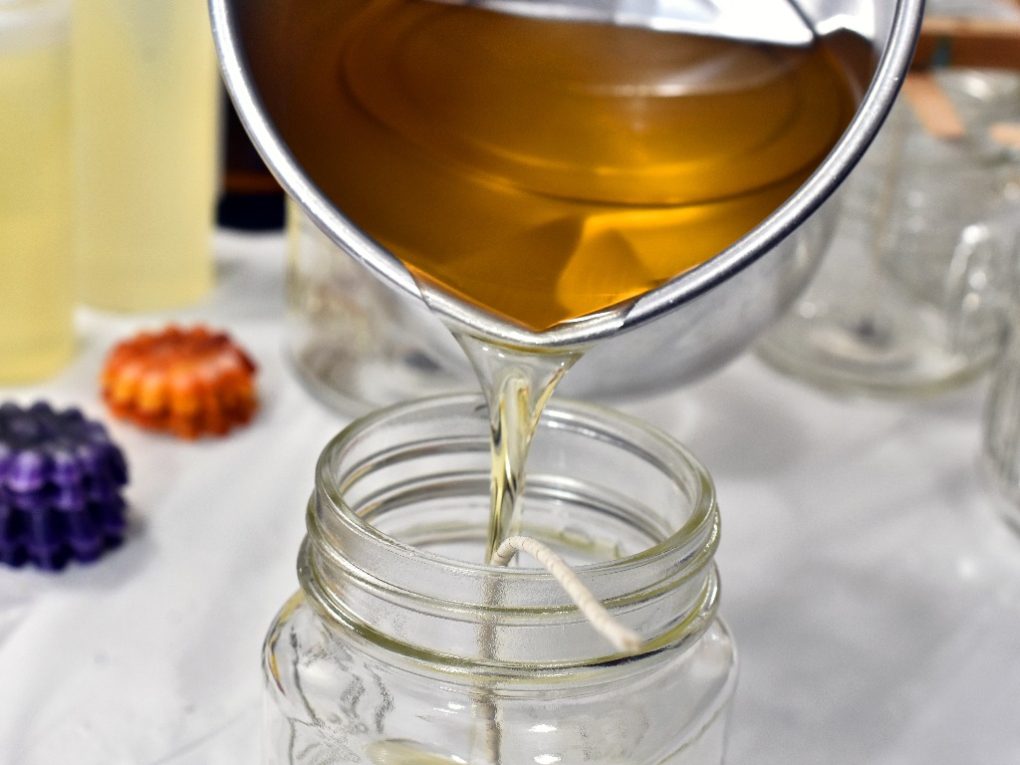
The length of time to cure candles varies depending on the type of wax used. Paraffin wax candles should cure for 3-5 days, while soy wax candles should cure for 7 to 14 days. On the other hand, Beeswax candles need to cure for at least 24 hours.
During the curing process, the wax and fragrance will blend, and the candle will produce a more potent and even scent. It is important to complete this step, as it is crucial to the overall quality of the candle. Rushing the curing process could result in uneven burning or a weaker scent. Therefore, it is best to be patient and allow the candle to cure for the recommended time.
Once the candle has cured, evaluating the burn profile and hot throw is important. If the candle does not burn evenly or has a weak scent, adjustments may need to be made to the wick or fragrance load. Therefore, it is recommended to test burn the candle for at least 2 hours to ensure an even melt pool and good scent throw.
In some cases, candles may cure for weeks to months after pouring. This is especially true for candles created in different seasons, as changes in temperature and humidity can affect the curing process. Therefore, it is important to keep this in mind when evaluating the overall quality of the candle.