
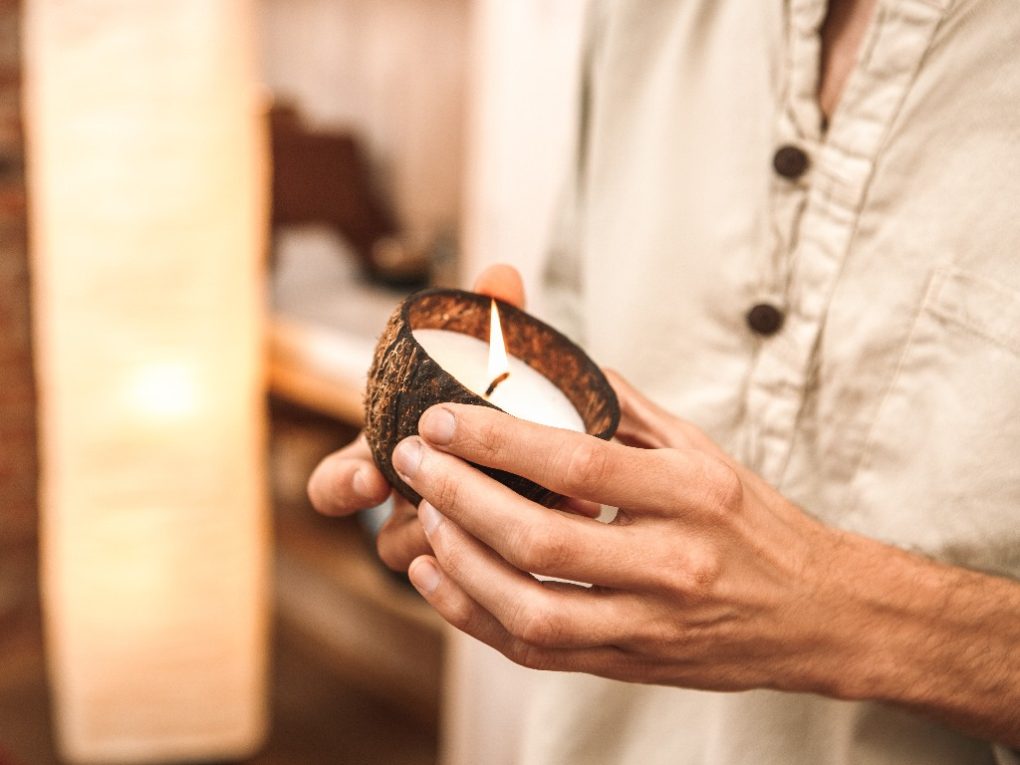
How to Make Coconut Wax Candles: A Step-by-Step Guide
One must gather materials such as coconut wax, wicks, fragrance oils, and candle containers to make coconut wax candles. It is important to note that every type of candle wax has a different melting and pouring temperature, so it is crucial to use a thermometer to keep the temperature in check. Additionally, pre-heating the containers to 140°F-170°F before pouring the mixture can help prevent cracking.
Knowing how to use oils and which oils to use for fragrances is also important when making coconut wax candles. Once the materials are gathered and the proper precautions are taken, making coconut wax candles can be a fun and rewarding experience for those looking to create eco-friendly candles at home.
Materials and Tools
Before making coconut wax candles, gathering all the necessary materials and tools is important. Here are the essential items needed:
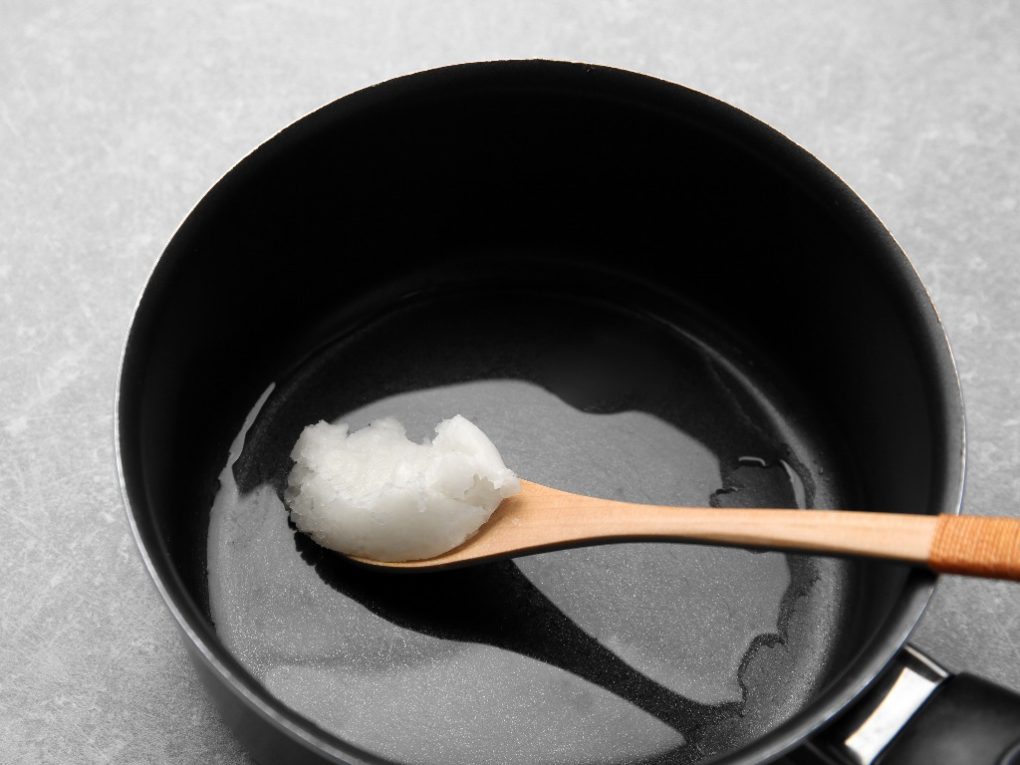
Coconut Wax
According to Veda Oils, coconut wax is the primary ingredient for making coconut wax candles. Purchasing high-quality, pure coconut wax is important to ensure the best results. Be sure to measure the amount of wax needed according to the size of the batch being made.
Wicks
Wicks are necessary for the candle to burn. Therefore, choosing the correct size wick for the container size is important. For example, zinc core wicks are recommended for coconut wax candles as they provide a consistent burn.
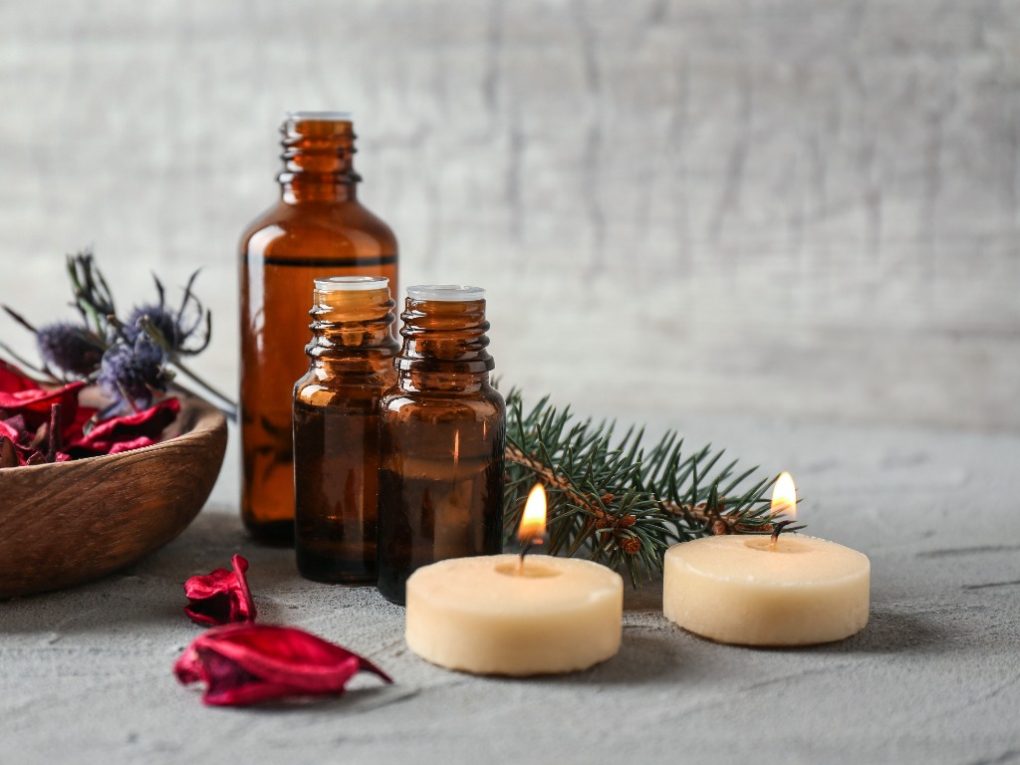
Fragrance Oils
Fragrance oils are used to add scent to the candles. It is important to choose high-quality fragrance oils that are specifically designed for use in candles. The amount of fragrance oil needed will depend on the desired scent strength.
Containers
The containers used for coconut wax candles can be glass, metal, or ceramic. Choosing heat-resistant containers with a wide enough opening to accommodate the wick is important. Be sure to clean and dry the containers thoroughly before use.
Thermometer
A thermometer ensures the wax is heated to the correct temperature, and a candy thermometer or a digital thermometer can be used.
Double Boiler
A double boiler is used to melt the wax, consisting of a pot of boiling water and a smaller pot or bowl that fits on top of it. This method ensures that the wax is heated evenly and prevents it from burning.
Stirring Utensil
A stirring utensil, such as a wooden spoon or silicone spatula, is needed to stir the wax and fragrance oils together. Therefore, using a heat-resistant utensil that will not melt in hot wax is important.
Preparing the Wax
Before you start making your coconut wax candles, preparing the wax properly is important. Here are the steps to follow:
Measuring the Wax
The first step is to measure the wax you’ll need for your candles. For example, you can use a kitchen scale to weigh the wax or a measuring cup by volume. Generally, you’ll need about 1 pound of wax for every 20 ounces of candle container volume.
Melting the Wax
Once you’ve measured the wax, it’s time to melt it. You can use a double boiler or a melting pot to melt the wax. If using a double boiler, fill the bottom pot with water and place the top pot with the wax on top. Heat the water to a simmer and stir the wax occasionally until fully melted. If you’re using a melting pot, place the wax and heat it according to the manufacturer’s instructions.
Adding Fragrance Oils
If you want to add fragrance to your candles, now is the time. You can use fragrance oils specifically designed for candle making. Generally, you should use about 1 ounce of fragrance oil for every pound of wax. Add the fragrance oil to the melted wax and stir it well to ensure it’s evenly distributed.
Following these simple steps, you can prepare your coconut wax for candle making. With a little practice, you can create beautiful and fragrant candles that will fill your home with warmth and light.
Preparing the Containers
Before pouring the wax mixture into the containers, preparing them properly is important. This section will cover the two main steps of preparing the containers: wicking and securing the wicks.
Wicking the Containers
The first step is to wick the containers. This involves selecting the appropriate wick size and attaching it to the bottom of the container. The size of the wick will depend on the size and shape of the container as well as the wax used.
One way to determine the appropriate wick size is to use a wick size chart. This chart will guide the appropriate wick size based on the diameter of the container. It’s important to note that wick size can also be affected by the type of wax being used, so it’s important to test the wick size before pouring the wax mixture.
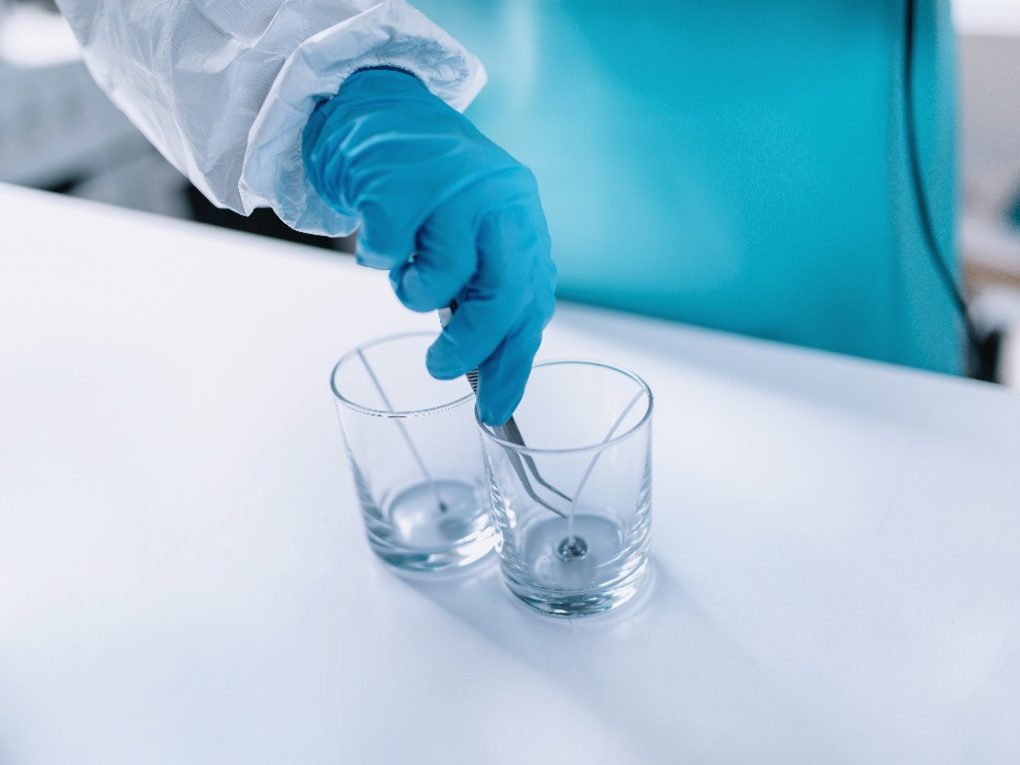
Once the appropriate wick size has been determined, it’s time to attach the wick to the bottom of the container. This can be done using a wick sticker or hot glue. Make sure the wick is centered in the container and straight.
Securing the Wicks
After the wicks have been attached to the containers, securing them in place is important. This will prevent the wicks from moving during the pouring process and ensure they remain centered in the finished candle.
One way I’ve been doing to secure the wicks is to use a wick bar. This metal or plastic device sits on the container and holds the wick. Another option is using a clothespin or similar device to hold the wick. Ensure the wick is straight and centered in the container before securing it. This will ensure that the finished candle burns evenly and doesn’t tunnel.
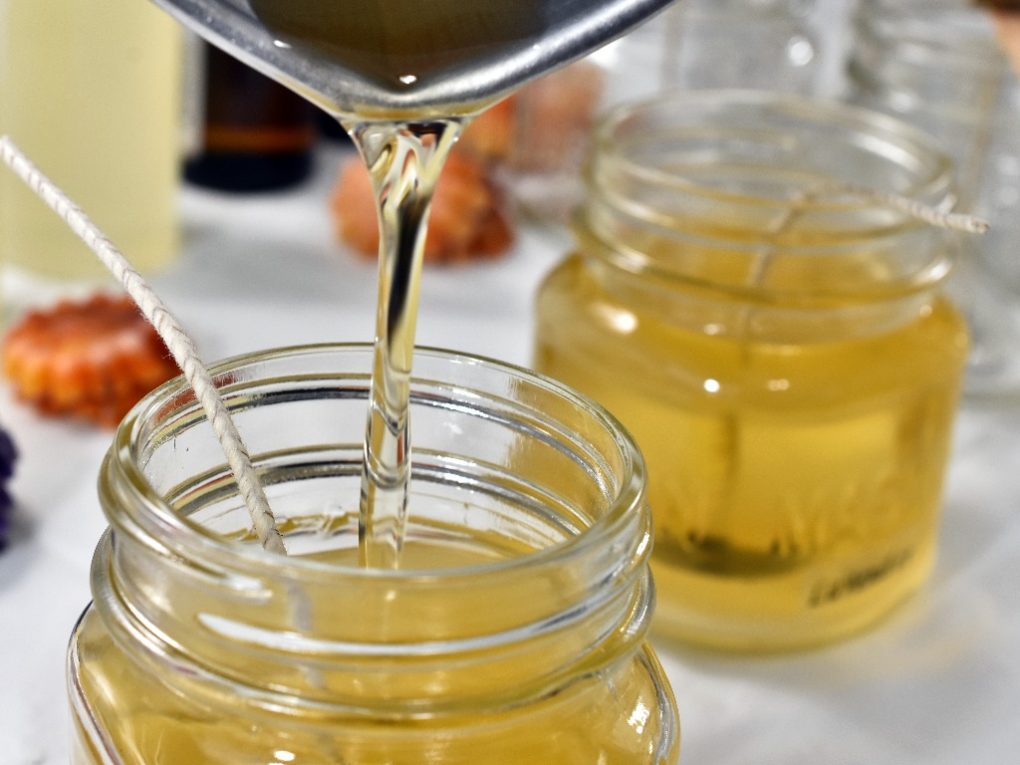
Pouring the Wax
Once the wax has been melted and mixed with the fragrance oils, it’s time to pour it into the candle jars. This section will cover the two main steps of pouring the wax: checking and pouring the temperature.
Checking the Temperature
Before pouring the wax, ensuring it’s at the right temperature is important. If the wax is too hot, it could crack the candle jar or cause the fragrance oils to evaporate too quickly. If it’s too cool, the wax may not adhere properly to the wick or the jar.
The ideal pouring temperature for coconut wax is between 40 and 46 degrees Celsius. To check the temperature, use a thermometer to measure the wax in the melting pot. If it’s too hot, let it cool for a few minutes before pouring. If it’s too cool, gently reheat it until it reaches the desired temperature.
Pouring the Wax
Once the wax is at the right temperature, it’s time to pour it into the candle jars. Here are the steps to follow:
- Place the candle jars on a flat surface and ensure they’re centered.
- Hold the wick in the center of the jar with a wick holder or chopstick.
- Pour the wax slowly and steadily into the jar, filling it up to about 1/4 inch below the rim.
- Leave the candles to cool and solidify for at least 24 hours before trimming and lighting the wick.
It’s important to pour the wax slowly and steadily to avoid air bubbles and ensure it adheres properly to the wick and the jar. If you’re making multiple candles, pour the wax into each jar one at a time to ensure consistency.
Finishing the Candles
Once the candles have hardened and cooled, it’s time to finish them off with some final touches to make them look and smell great. Here are a few steps to follow:
Trimming the Wicks
Before lighting the candles, it’s important to trim the wicks to about 1/4 inch. This will prevent the flame from getting too big, causing the candle to burn too quickly or unevenly. Use scissors or a wick trimmer to cut the wick, not cutting it too short carefully.
Labeling the Candles
Labeling the candles is important, especially if you plan to sell them or give them as gifts. Here are a few things to include on the label:
- The name of the scent
- The type of wax used
- The size of the candle
- Instructions for use (e.g., how long to burn the candle)
You can also include any other relevant information, such as the date the candle was made or where it was made. By following these steps, you can create beautiful and fragrant coconut wax candles that will add a cozy and inviting atmosphere to any room in your home. Happy candle-making!