
How to Safely Melt a Candle on the Stove: A Step-by-Step Guide
Melting candles on a stove is a simple and effective way to repurpose old candles or create new ones. It is a cost-effective method that requires minimal equipment and can be done in the comfort of your own home. Melting candles on the stove can be dangerous if proper safety precautions are not taken.
Here are the steps to safely melt a candle on the stove:
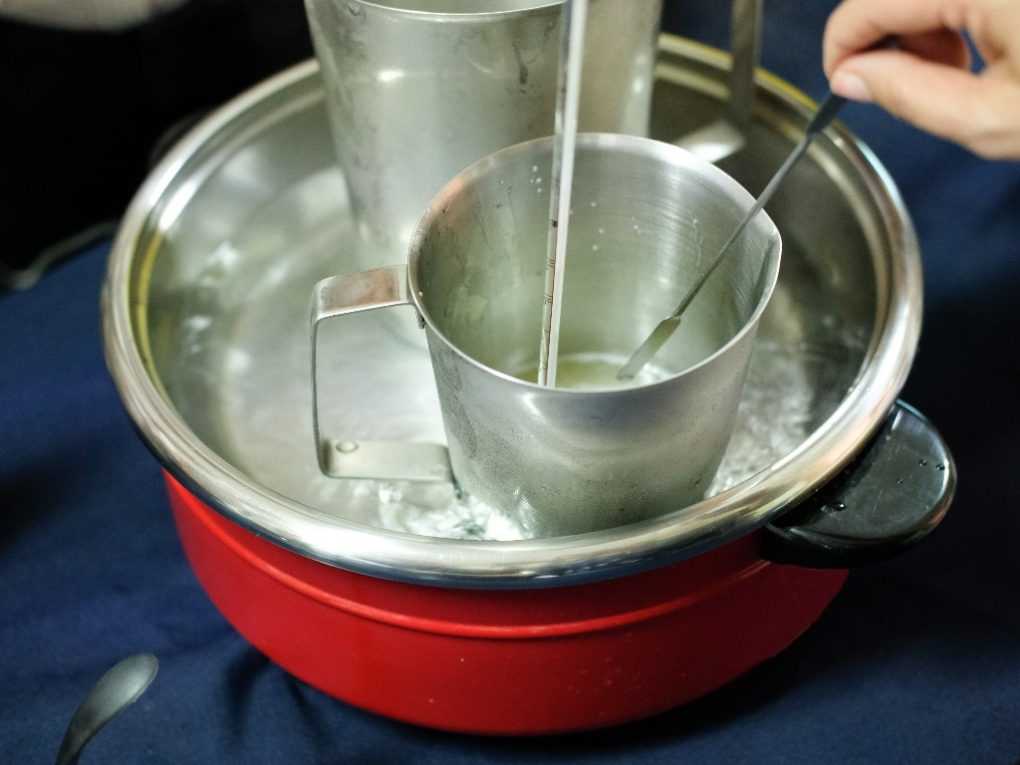
- Choose a heat-proof container: Choose a heat-resistant container specifically designed for melting wax. A metal pouring pot or a double boiler is a good option for melting wax on the stove.
- Fill the pot with water: Fill the pot with water and place it on the stove. Ensure the water level is below the rim of the pouring pot or double boiler.
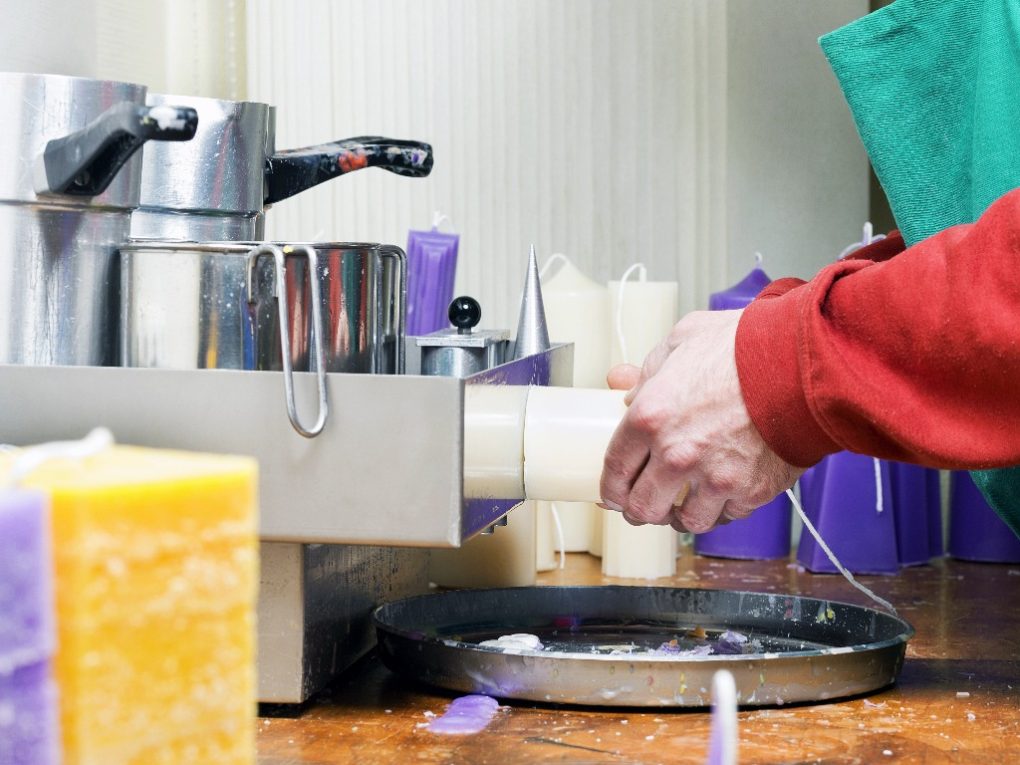
- Place the wax in the pouring pot: Break the candle into smaller pieces and place them in the pouring pot.
- Heat the pot slowly: Turn on the stove to a low to medium heat setting and slowly, occasionally stirring to ensure even melting. Avoid overheating the wax, as it can become flammable and cause a fire hazard.
- Monitor the temperature: Use a thermometer to monitor the temperature of the wax as it melts. Wax should be heated to around 180-185°F (82-85°C) for best results. Do not leave the wax unattended on the stove.
- Pour the melted wax: Once the wax has melted, turn off the stove and carefully pour the melted wax into your candle jar or container. Be careful not to spill the hot wax or come in contact with it, as it can cause burns.
- Clean up: Wipe up any spills or drips of wax immediately with a paper towel or cloth. Do not pour wax down the drain, as it can cause blockages.
Preparing to Melt the Candle
Gathering Supplies
Before melting a candle on the stove, gathering all the necessary supplies is important. These include:
- Candle wax
- A stove
- A pot
- A double boiler
- A thermometer
- A stirring utensil
- A mold (optional)
Choosing the Right Stove
When melting a candle on the stove, choosing the right type of stove is important. Electric stoves are the safest option because, according to Danny’s Appliance, they do not have an open flame, which can ignite the wax fumes. However, based on experience, gas stoves should be avoided because they pose a fire hazard.
Selecting the Right Pot
The pot for melting the candle wax should be made of a heat-resistant material, such as stainless steel or glass. It should also be large enough to fit the double boiler. Using a too-small pot can cause the wax to spill over and create a mess. Additionally, using a pot dedicated solely to candle-making is important, as residual wax can be difficult to clean.
Melting the Candle on the Stove
Cutting the Candle into Pieces
The first step to melting a candle on the stove is to cut it into smaller pieces. This will help the candle melt more evenly and quickly. Use a sharp knife to cut the candle into small pieces, or break it up with your hands. Be careful not to cut yourself or make the pieces too small, which may cause the wax to melt too quickly and overflow.
Placing the Candle in the Pot
Place the candle pieces in a small pot that is safe to use on the stove. Based on experience, using a pot only for candle-making and not cooking food is important. This will prevent any leftover wax from contaminating your food. Be sure to fill the pot at most halfway with the candle pieces.
Melting the Candle on Low Heat
Once the candle pieces are in the pot, place the pot on the stove and turn the heat low. It’s important to melt the candle on low heat to prevent the wax from burning or boiling. Keep a close eye on the pot and stir the wax occasionally to ensure it melts evenly. Once the wax has melted completely, remove the pot from the stove and let it cool for a few minutes before pouring it into a mold or container.
When melting a candle on the stove, taking safety precautions is important. Never leave the pot unattended on the stove, and be sure to use oven mitts or a towel when handling the pot, as it will be hot. Additionally, thoroughly clean the pot after use to prevent leftover wax from hardening and clogging the drain.
Pouring the Melted Wax
Preparing the Candle Mold
Before pouring the melted wax, it is important to prepare the candle mold. Next, choose a heat-resistant container appropriate for the amount of wax you have melted. Ideally, the container should have a pouring spout to make the process easier.
Clean the container thoroughly and dry it completely. If you are reusing a container, remove any leftover wax residue. To prevent the wax from sticking to the container, spray it with a non-stick cooking spray or rub a small amount of vegetable oil on the inside.
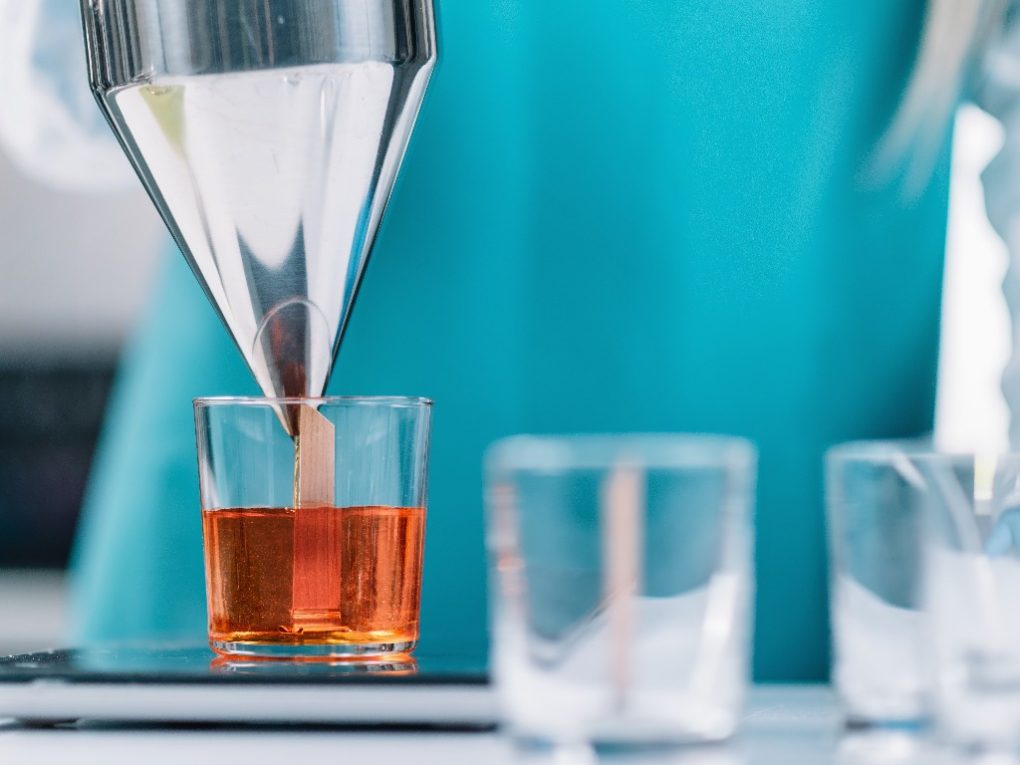
Pouring the Melted Wax into the Mold
Once the candle mold is prepared, it is time to pour the melted wax. Then, slowly pour the wax into the container, taking care not to spill it. If you use a large container, you may need a funnel to make the process easier. Fill the container to the desired level, leaving some space at the top for the wick. If you are making a layered candle, pour the first layer and allow it to cool before pouring the next layer.
Allowing the Wax to Cool
After pouring the melted wax into the mold, it is important to allow it to cool completely. This can take several hours, depending on the size of the candle and the room temperature. For example, you can place the container in the refrigerator or freezer to speed up the cooling process. However, be careful not to leave it too long, which can cause the wax to crack. Once the wax has cooled and solidified, trim the wick to the desired length, and your candle is ready to use.
Finishing Touches
Trimming the Wick
After melting and pouring your candle, the final step is to trim the wick. This is important for both the aesthetics and safety of the candle. Using a wick trimmer or scissors, trim the wick to about 1/4 inch above the wax surface. This will prevent the flame from getting too large and smoking and help the candle burn evenly.
Removing the Candle from the Mold
If you use a mold to create your candle, you must remove it carefully. Allow the candle to cool completely before removing it from the mold. Gently pull the sides of the mold away from the candle, then turn the mold upside down and gently tap the bottom to release the candle. If the candle is still stuck, you can place the mold in the freezer for a few minutes to help loosen it.
Cleaning Up
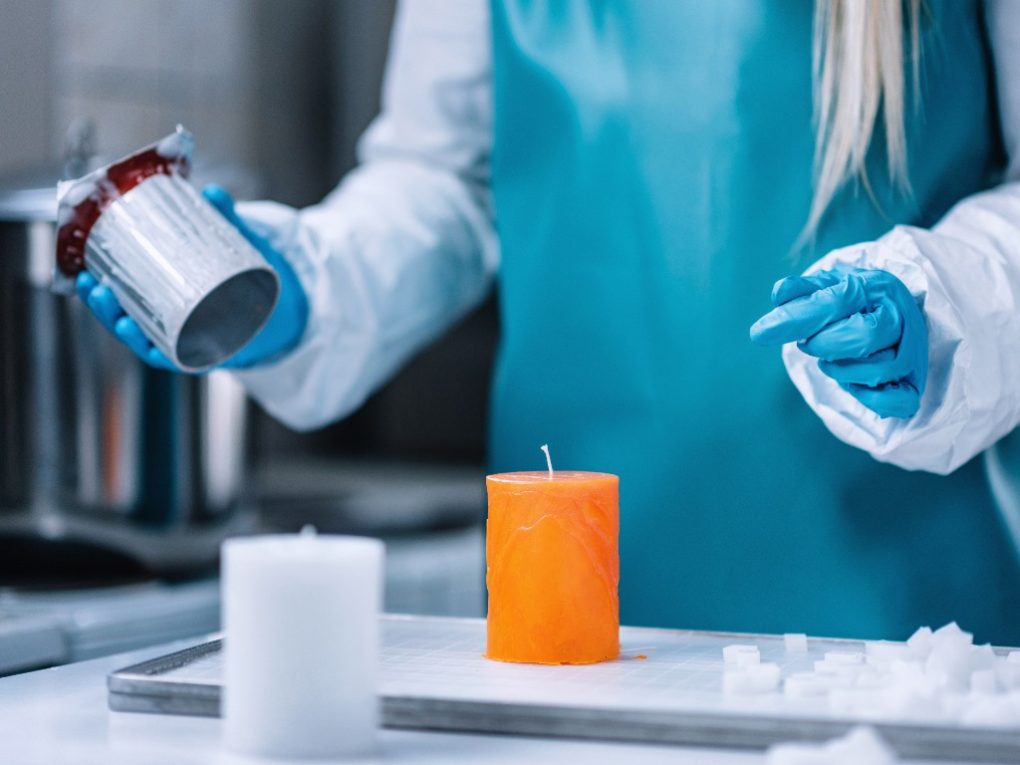
Once your candle is trimmed and removed from the mold, it’s time to clean up any excess wax. Use a paper towel or cloth to wipe away any excess wax from the candle’s surface and the sides and bottom of the jar or mold.
If you have any stubborn wax residue, use a hair dryer on low heat to melt it slightly and then wipe it away. Finally, apply a caution label to the bottom of the candle with important safety information such as “Do not leave a candle unattended” and “Keep away from children and pets.”