
How to Replace a Candle Wick: A Step-by-Step Guide
Choosing the right type for your candle is one of the most important steps in replacing a candle wick. Different types of candles require different wicks depending on size, shape, and wax type. Choosing an appropriate wick for your specific candle is important to ensure that it burns properly and safely.

Once you have selected the right wick, the next step is to remove the old wick from the candle. This can be done using an apple corer or another sharp tool to extract the old wick and any remaining wax carefully. Insert and secure the new wick using a wick tab or other adhesive. Then, with the new wick in place, your candle will be ready to burn brightly again.
Gather Materials
Before attempting to replace a candle wick, gathering all the necessary materials is important. This will make the process easier and more efficient. Two main categories of materials are needed: tools and wick with wax.
Tools
The following tools are needed to replace a candle wick:
- Apple Corer or a similar tool
- Needle-nosed pliers
- Scissors
- Hot air gun or hair dryer
The apple corer is used to remove the old wick from the candle. The needle-nosed pliers are used to manipulate the wick and wick tab. Scissors are used to trim the wick to the desired length. The hot air gun or hair dryer melts the wax and secures the new wick.
Wick and Wax
When replacing a candle wick, it is important to have the right type of wick and wax. The following materials are needed:
- Candlewick
- Wick tabs
- Candle wax
Based on what I did last time, the candle wick should be the appropriate size for the candle. The wick tabs are used to secure the wick in place. The candle wax should match the type of candle being repaired. For example, soy wax should be used for soy candles. It is also important to have a clean and flat work surface. This will make the process easier and prevent any accidents.
Remove Old Wick
Before replacing the old wick with a new one, it is important to remove the old wick completely. This section will guide you through removing the old wick from your candle.
Melt Wax
The first step in removing the old wick is to melt the wax around it. This makes it easier to remove the wick without damaging the candle. There are a few ways to melt the wax:
- Use a hot air gun to melt the wax around the wick.
- Place the candle in a warm oven for a few minutes until the wax softens.
- Use a hair dryer to melt the wax.
Whatever method you choose, melt the wax carefully and evenly to avoid any damage to the candle.
Remove Wick
Once the wax is melted, you can remove the old wick. There are a few ways to do this:
- Use an apple corer to twist and pull the old wick out of the candle.
- Use a pair of tweezers to pull the old wick out of the candle.
- Use a toothpick or skewer to scrape the old wick out of the candle gently.
Be sure to remove all of the old wick, including any wick tabs or remnants that may be left behind. This will ensure that the new wick fits properly and burns evenly.
Prepare New Wick
Before replacing the old wick, it is important to prepare the new wick. This section will cover two sub-sections: measuring the wick and dipping it in wax.
Measure Wick
The first step in preparing a new wick is to measure it. The length of the wick should be longer than the height of the candle. This will ensure the flame burns evenly and does not drown in the wax. A wick that is too short will not burn properly, and a wick that is too long will create a large flame that may be dangerous.
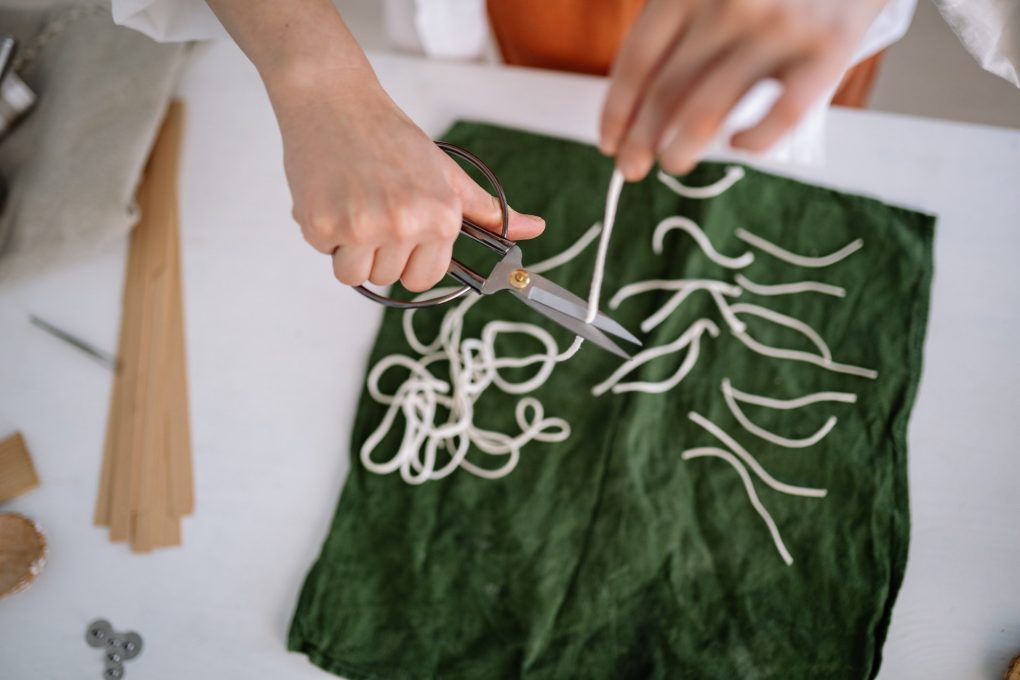
Begin by cutting a length of wick that is longer than the height of the candle. Hold the wick taut and measure it against the candle. Use scissors to trim the wick to the appropriate length.
Dip in Wax
After measuring the wick, the next step is to dip it in wax. This will help the wick stand upright in the candle and prevent it from moving or falling over.
Melt some wax in a double boiler or a heat-resistant container placed in a pot of boiling water. Once the wax has melted, dip the wick into it and let it soak for a few seconds. Remove the wick from the wax and hang it up to dry. You can use a clothespin or a paper clip to hang the wick.
Repeat this process several more times until the wick is completely waxed. This will help the wick stand upright in the candle and prevent it from moving or falling over. Once the wick is dry, it can be inserted into the candle.
Insert New Wick
After removing the old wick, inserting the new one is time. This section will guide you through the steps to insert a new wick into your candle properly.
Thread Wick Through Hole
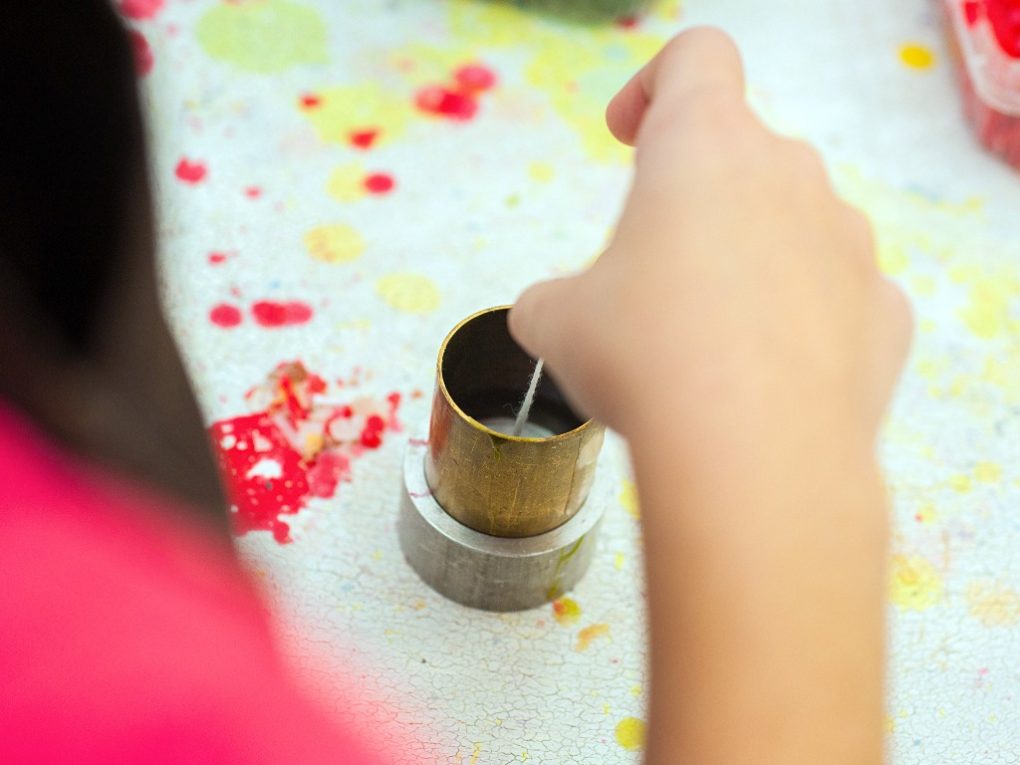
Take your new wick and thread it through the hole in the metal base of the wick tab. Pull the wick through until only a small amount of the wick is left at the bottom of the tab. If the wick is too long, trim it to the appropriate length.
Next, thread the wick through the hole in the candle’s center. Use a skewer or toothpick to help guide the wick through the hole if necessary. Ensure the wick is centered in the candle and that the wick tab is resting on the surface of the wax.
Secure Wick
Now that the wick is in place, securing it to the bottom of the candle is time. So there are a few ways to do this:
- Use a hot glue gun to attach the wick tab to the bottom of the candle.
- Use a piece of double-sided tape to attach the wick tab to the bottom of the candle.
- Use a small amount of melted wax to attach the wick tab to the bottom of the candle.
Choose the method that works best for you and your candle. Once the wick tab is securely attached to the bottom of the candle, use a wick-centering tool to ensure the wick is straight and centered in the candle. And that’s it! You have successfully replaced the wick in your candle. Now you can enjoy your candle once again.
Trim Wick and Test Burn
After replacing the wick, it’s important to trim it to ensure an even burn. Trimming the wick also prevents it from producing too much smoke or soot. Here are the steps to trim the wick:

Trim Wick
- Before lighting the candle, trim the wick to 1/4 inch using wick trimmers or sharp scissors.
- Trim the wick vertically to avoid any debris falling into the wax.
- If the wick is too short, it may drown in the wax. If it’s too long, it may produce a large flame and smoke. Therefore, it’s important to trim the wick to the recommended length.
Test Burn Candle
It’s essential to test burn the candle to ensure it burns evenly and doesn’t produce any smoke or soot, according to Candle Science. So here’s how to test burn the candle:
- Light the candle and let it burn for at least one hour or until the wax has melted to the edges of the container.
- Extinguish the candle and let it cool for a few minutes.
- Check the wick for any debris or soot. If there is any, trim the wick again before relighting the candle.
- If the candle burns evenly and produces no smoke or soot, it’s safe to burn. If not, trim the wick again and test burn until it burns evenly.
Following these steps, you can replace the wick in your candle and ensure it burns evenly and safely. Always trim the wick before lighting the candle and test burn it to ensure it burns evenly and produces no smoke or soot.