
How to Paint the Living Room Wall – 12 Things You Need to Know
Having a fresh layer of paint on the walls can make a difference in transforming the living room space. It is an inexpensive idea when it comes to changing how the living room looks even without buying new furniture and decorations. In spite of being cheap, painting requires effort and patience. Preparation can be tricky, especially if this is your first time to coat the entire living room space. For beginners, homeowners, and even experts, this how-to list will come in handy to ensure that the remodeling project will end up a success. We have scooped 12 things you need to know on how to paint the living room wall.
1. Define the Budget

The budget has always been a factor in transforming the look of a living room space. Considering how it is an important space at home, we would not want to compromise how it would look not just for the household but as well as for the guests. Painting living room walls is an inexpensive option. They would not cost you much, especially if you will be doing the job. Everything comes with a price. Thus, state your budget and be resourceful in achieving your ideal look for the living room without spending way too much money. Look for alternative brands that do not compromise the look of the room. Setting the budget is important because you need to know if you are going beneath or beyond the costs.
2. Work with a Strategy
Before anything else, the first step to work on is planning a strategy. Root for inspirations that you can find online and think of how you want the entire space to look. There are no rules that state that all the faces of the room are limited to one color. In fact, it is up to you to mix and match what you think will make the space feel like home. Take a good photo of the living room and take time to sketch the imagery you have in mind. Planning everything beforehand will allow you to save time and energy by getting one at a time. Always take time to plan things ahead to have a leeway of how much time you need for the entire project. It would be best to come up with a plan beforehand to establish the organization in painting the living room walls.
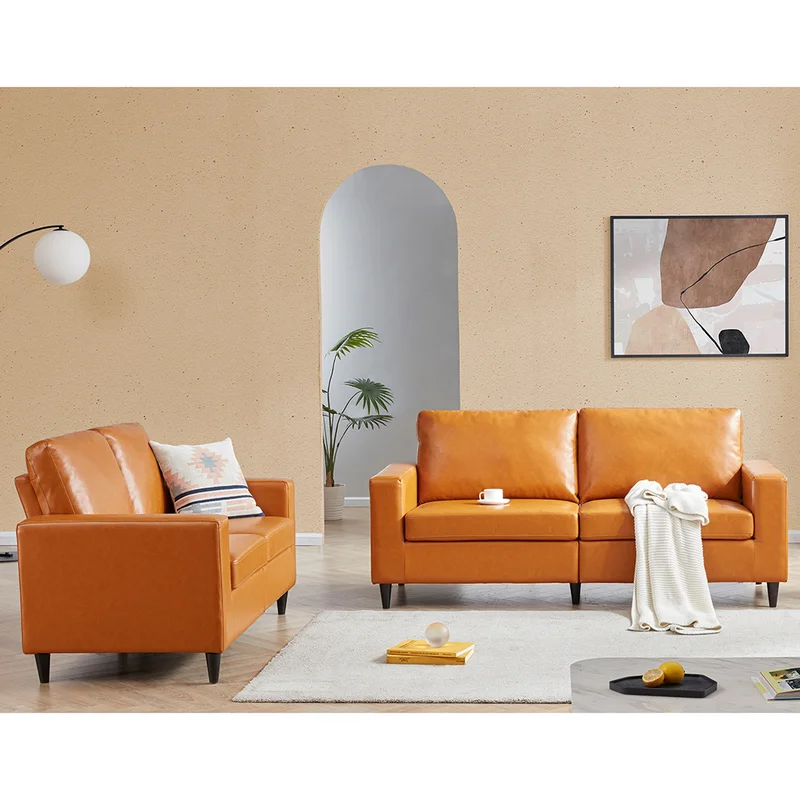
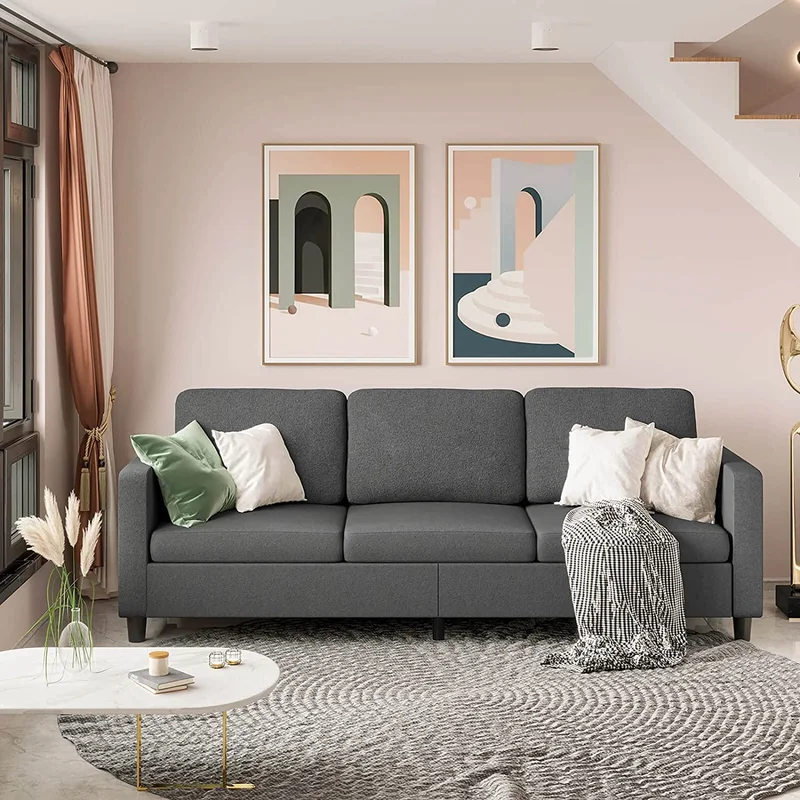
3. Choose a Color Palette
One of the most challenging parts of knowing how to paint the living room walls is what color to paint them with. We all know you have your ideal color in mind. It is just you do not know whether or not it will fit the ideal aesthetic you have in mind. It is not every day you get to paint your walls. Excitement comes first in trying to make a change in how it looks. We highly suggest having a variety of color palettes to choose from. This way you have a backup just in case the first palette does not work well with you. Colors make a huge difference in the ambiance of the living room space. The space is a public area in the household for entertaining the guests and household. Thus, it should be inviting and cozy to be in. Take time to look for limitless inspiration online before anything else.
4. Swatch Paint Colors

The fun thing about painting spaces at home is having to go to the hardware or home depot for some fresh paint. If you still have no idea what color to choose, take time to swatch a variety of paint colors. Then lay them on the wall to have a glimpse of which colors would best suit the living room walls. Swatches often come cheap. In some cases, they come free. Take as many as you can. It would be best to base the swatches on the colors of the variating inspirations you have in hand. Swatch the colors during the day rather than night. This will allow you to have a clear view of the color with natural lighting.
5. Complete the Tools and Materials
Painting does not only require paint. Have your budget ready to purchase what you need and reuse what you can. Making a list of all the needed materials will save you time and energy and will help in getting the job done more conveniently. Make room for all the items before anything else. It can be a bummer to start painting when the materials are not yet complete. Each project done is unique which means it may require different tools to use depending on the type of surface. Work with materials that you will be comfortable using. Invest in high-quality materials to prevent compromising the quality of painted walls. We made a list of all the things you must have before beginning your project.
- Paint brush
- Paint
- Paint roller
- Paint tray
- Newspaper
- Drop cloths
- Tape
- Rags
- Sandpaper
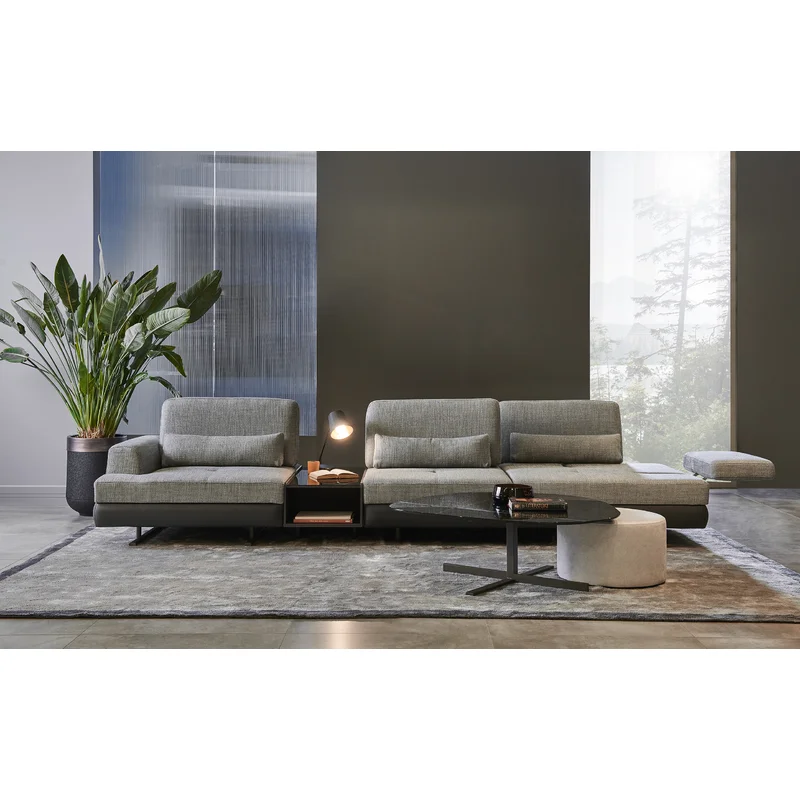
6. Prepare the Living Room
Once you have gathered all the materials, the next thing to do is prepare the living room. This requires cleaning and wiping the walls. Free the surface from dust and dirt that makes a difference with the surface you are about to paint. We would not want the lumps on the walls once you begin. Apart from cleaning, preparing means freeing the space from clutter. It would be best to move all the furniture as far away from the space as possible. Wrapping them alone would not suffice because it can be in the way while you paint the walls. Clear the living room space from everything. Not just the furniture but as well as the decorations and artwork. We would not want drops of paint on the couch or table.
7. Identify How Much Paint is Needed
It can be frustrating to be in the middle of a project and know that the paint is running out. Having too much paint would be a problem either. With that being said, identify how much paint is needed to cover the living room space. There are available online paint calculators that can help you compute how much paint you need. All you need is to input the numbers of the dimensions of the space. This includes the width and height of the walls. Knowing the area of the space will allow you to know how much paint you need. The calculator will only compute how much paint you need for one coat. Double the amount if you prefer having two coats. This is often used in the walls that are not primed. If the walls are primed, one coat would be enough.
8. Strategize a Painting Technique
Apart from the color, another important matter is the painting technique to be used. It establishes the finish of the walls you want to achieve. Flat paint techniques are often used to conceal the imperfections of the walls. It makes the wall look flawless and flat. For textured finishes, an eggshell finish would suffice. On the other hand, high gloss is a highly durable finish that makes the walls easier to clean. But, they are often used in wet areas such as the kitchen and bathroom. Apparently, the downside of the finish is that they make imperfections of the walls noticeable.
9. Define Sections
Using tape or paint, divide the walls into sections. Paint the section of the wall per section in order to establish the organization of the process. This will help you know whether or not the coating is equal. Paint two sections and compare whether or not the coating is fair. If not, make adjustments on how to make the walls even. Using tape to section the wall will give you the time to take the section one at a time.
10. Prime the Walls
For a more even painting of the walls, it would be best to prime the walls. Having the walls primed means it would require you less paint to cover the space. Primer is cheaper than paint which makes it a budget-friendly option. The primer helps in concealing the unevenness of the surface. It works the same way as the primer for makeup. Unevenness in the surface allows shadows which means it can get caught up with how it would look.
11. Paint the Walls
Now that you have everything prepared, it is time to paint the walls. It may come exciting at first but it gets tiring eventually. The key to painting the walls is taking all the time you need to finish it. As a time-consuming activity, trying to make things be faster will just compromise how it will look. We all want an even coating of the walls. Thus, be mindful of doing it as slowly as possible with consistent force. This is where the outcome of the living room will depend on.
12. Bring Back the Living Room Together
Once everything is done, give your living room time to breathe. We highly suggest leaving it as it is for a day. Open more windows to allow the walls to breathe. Besides, paint fumes can compromise your health when exposed for a long amount of time. After a day of allowing the walls to breathe, it is now time to take all the clutter away and bring back the living room together.